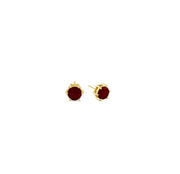
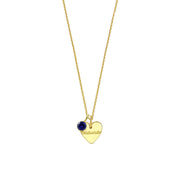
Breast milk jewelry is a beautiful way for mothers to cherish the bond with their child. These personalized keepsakes transform a mother’s milk into rings, necklaces, bracelets, or charms that can be worn every day. But many new moms wonder, what is breast milk jewelry, and how is it made?
In this guide, we’ll explore how to make breast milk jewelry, DIY kits, preservation tips, and how to ensure your jewelry lasts for years.
What Is Breast Milk Jewelry?
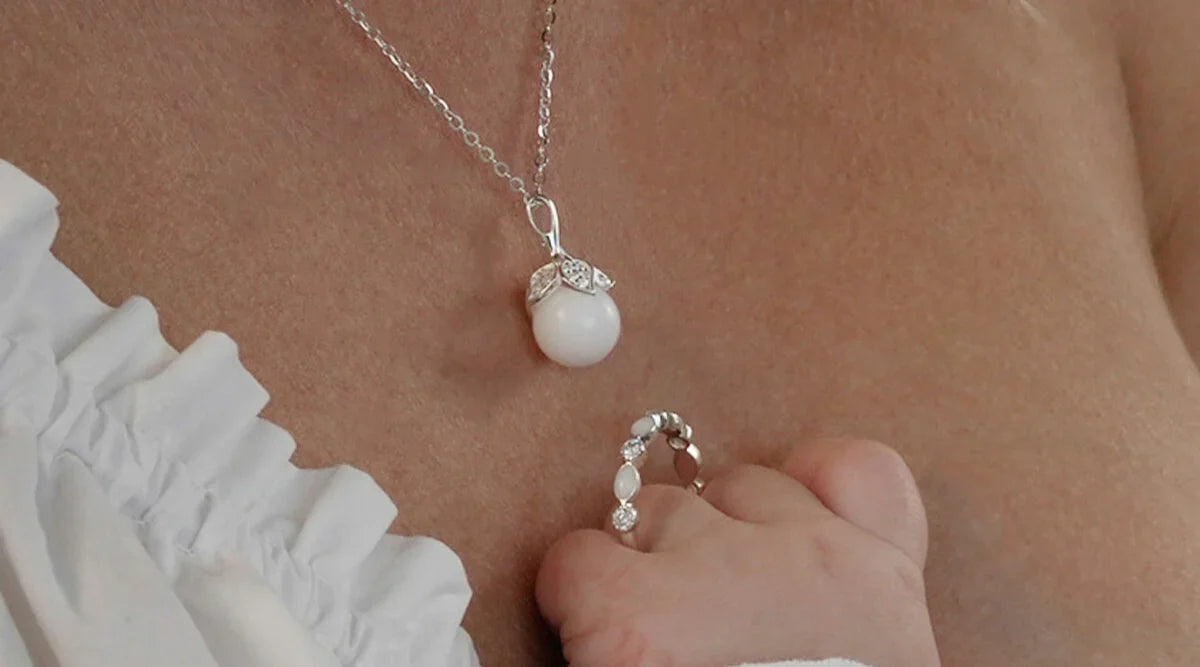
Breast milk jewelry is a custom piece of wearable art created using a small amount of a mother’s breast milk. The milk is preserved, processed, and encased in resin or other durable materials to create pendants, beads, or charms. Each piece serves as a sentimental reminder of motherhood and the nurturing connection between parent and child.
How to Make Breast Milk Jewelry
 Creating breast milk jewelry can be done at home with a DIY breast milk jewelry kit or through professional artisans. Here’s a basic step-by-step process:
1. Preserve the Milk
To start, you need a small amount of breast milk. It’s important to preserve it to prevent spoilage. You can either freeze the milk or turn it into powdered form for easier use.
2. Turn Breast Milk Into Powder (Optional)
-
Freeze your milk in small batches.
-
Use a dehydrator or low-heat oven to remove moisture.
-
Grind the dried milk into a fine powder for easier incorporation into resin or clay.
3. Mix With Resin or Other Mediums
-
Use epoxy resin, polymer clay, or UV resin to combine with the milk or milk powder.
-
Add pigments, glitter, or color as desired to create unique designs.
4. Mold and Shape
Pour the resin or shape the clay into molds. Common forms include pendants, beads, rings, and charms. Ensure the mold is clean and free of dust.
5. Cure and Seal
-
Allow the resin to cure completely according to instructions.
-
Seal the jewelry with a protective coating to make it durable and waterproof.
6. Attach Findings
Finally, attach chains, jump rings, or earring hooks to complete your jewelry piece.
Breast Milk Jewelry Kits
For beginners, breast milk jewelry kits are a convenient way to get started. These kits typically include:
-
Resin or clay mediums
-
Molds for pendants, rings, or beads
-
Pigments, glitter, and sealants
-
Instructions for preserving milk and making jewelry
Using a kit simplifies the process and reduces the chance of errors while creating a lasting keepsake.
You May Also Like: Is Pandora Jewelry Real? Let’s Find Out
How Long Does Breast Milk Jewelry Last?
 The longevity of breast milk jewelry depends on the materials and care. Properly preserved resin or clay jewelry can last 10 years or more. Avoid prolonged exposure to water, direct sunlight, or chemicals to prevent discoloration or damage.
How to Preserve Breast Milk for Jewelry
1. Freezing
Store milk in small portions in airtight containers or silicone molds. This method is simple and prevents spoilage.
2. Powdering
Turning milk into powder increases shelf life and makes it easier to mix with resin or clay. Ensure it is fully dehydrated before using.
3. Avoid Contamination
Always use clean utensils and containers to prevent bacterial growth, ensuring your jewelry is safe to handle.
DIY Breast Milk Jewelry Tips
-
Start with a small test batch before making large pieces.
-
Choose neutral or soft colors to highlight the natural milk design.
-
Follow resin curing instructions carefully for a smooth finish.
-
Store completed jewelry in a cool, dry place.
-
Label preserved milk to avoid confusion when using multiple batches.
Read Related: How to Clean New Earrings: A Complete Guide
Conclusion
Breast milk jewelry is a heartfelt way for mothers to carry a tangible memory of their child. Whether you make it at home with a DIY breast milk jewelry kit or order a custom piece, these keepsakes serve as a lasting reminder of love and connection. By preserving milk carefully, using the right materials, and following proper techniques, your jewelry can last for years, becoming a cherished heirloom for generations.

